Setting up a Class Information Database
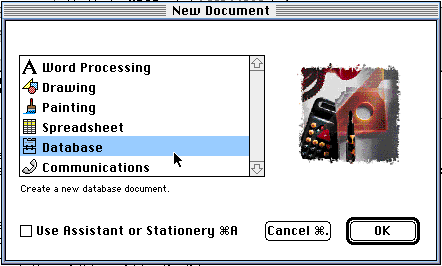
- Open ClarisWorks and select
Database.

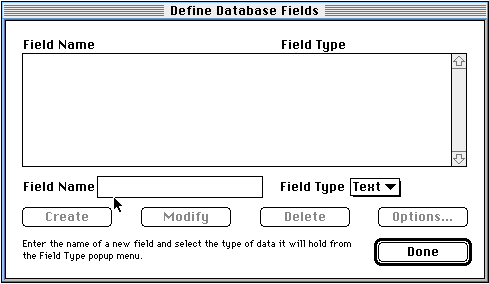
- At the next screen you will type in the fields
you want in your database. Some examples are given
below.

- For a class information database, here are
some suggestions:
- First Name
- Last Name
- Parents Formal (Mr. and Mrs.
Smith)
- Parents Casual (John and Mary)
- Address
- Phone (H)
- Phone (W)
- E-mail
- Special Info
- Child's Poss. (This stands for the
possessive form of the child's name. We will use this later in
our mail merge.)
- First and Last
- Bus Number
- Birth date
- she/he
- He/She
- him/her
- his/her
- Type in the title for the first field and
press return. After typing in all the fields, click the Done
button in the lower-right corner.
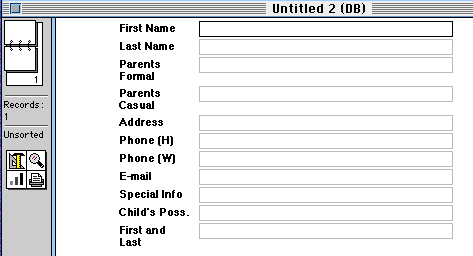
- The next screen that you see will show you the
fields you have created.

- The next step is the data entry.
- NOTE: Data entry means you are going to
fill in the blanks you just created. To move from one blank to
another, just hit the Tab key or click inside the blank on
which you want to work.
- NOTE: You can change the amount of space
for a field by going to Layout in the menu bar and dragging
down to layout. Move the "BODY" line down and arrange the field
titles and boxes by clicking on what you want to
move.
- After completing the first set of information,
go to Save As from the File menu to name and save your
database.
- Next you will need a new record. Hold down the
Apple-Key and press "r" and a new record will appear.
- It is a good habit to Save after entering each
new record.
Joanne Goodwin,
Technology Resource Teacher
Back to the Tech Resource
Page


